Shifters

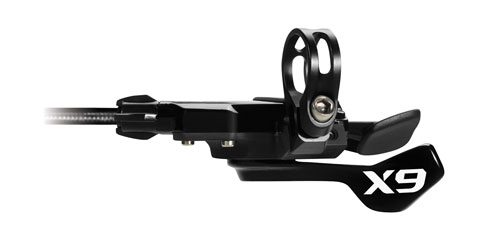
Installation and positioning of the shifter pods is extremely easy with just a 5mm allen key. Ergonomics feel pretty much exactly like the X9 shifters of the past couple years. The only difference I noticed was that the glossiness of the new finish on the levers offered a smoother feel to the thumb. The detents between gears also feel a little softer, giving the overall shifting action the feel of being a little lighter than past versions of X9 I have used.
On the front end, switching between the two front rings was easy, and obviously just an up or down one gear move. On the back end, shifting to a smaller cog (higher gear) is done one click at a time, but when you need to upshift in a hurry, you can easily get through 4-5 cogs per thumb sweep. That means from the highest gear to the lowest in just two sweeps of the thumb.
Changing shifter cables is a snap, and requires no tools at the shifter. Making small cable adjustments at the barrel adjuster is easy to do and, quite frankly, doesn’t have to be done very often.
Overall, the new shifters are precise, smooth, and comfortable. They also look great and are very low profile. I couldn’t ask for anything more.
Cranks and Bottom Bracket

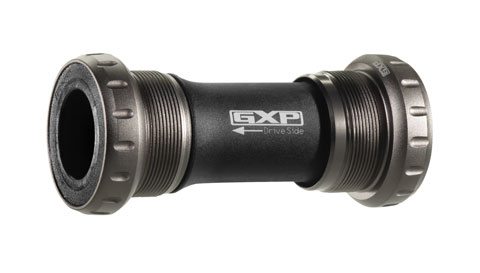
Installation of the X9 BB and crank onto the LT2 was as simple or simpler than any other brand I have installed. Simply thread in the BB with appropriate spacers, push the drive-side assembly through the BB, line up and attach the non-drive side crank arm, and torque the nut as specified. For anyone that has used older Truvativ cranks and had issues with installation and removal of the cranks, don’t worry: these new X9 cranks offer none of the headaches of the past.
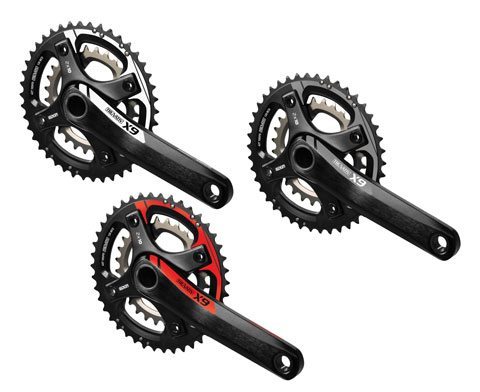
You can read about the shifting technology used for the 2X10 cranks and rings here. It’s called X-Glide, and all I have to say is that it works extremely well. I will mention several times in this review how quick, reliable, and accurate the shifting of the new X9 system is on each and every shift, and I’m not trying to be redundant, it just is!

I have not experienced any issues on the durability front with either the cranks or the BB. The cranks are made from aluminum, so they are stiff and can take a beating. I live in the desert, so I wouldn’t say I’m putting the seals of the BB through any sort of extreme water testing, but they do experience their fair share of dust accumulation. And so far everything is still cranking around just as well as it was on day one.
I don’t believe that the big advantage of using the X9 crankset is that the crank or bottom bracket themselves are far superior to any other products of a similar weight and price; the true advantage is the X-glide technology and its shifting prowess.
Front Derailleur

My bike required the top pull, low clamp derailleur. The job of the front derailleur has definitely become easier with the 2X10 system. The derailleur doesn’t have to swing through as great a range of motion, nor does it get used as much with the full range of 10 cogs available for each of the front two rings. Shifting is significantly faster and more concrete than any 3X9 system I’ve ever used. The 2×10 system easily handles shifting under load, which is a huge bonus over previous 3X9 systems. Would I frequently shift under full load? No, but if the time comes when it is absolutely necessary, it can be done and you won’t be let down.
Setting up the front end shifting was surprisingly quick and easy. One thing I loved about the derailleur was that all the adjustments are done with an allen key, not a small screwdriver. I know it’s not a big deal, but making small adjustments with an allen allows you to focus entirely on the derailleur cage and you don’t have to simultaneously mess with the adjustment screws. It’s a small feature, but it sure is nice.
The derailleur design is very clean, so mud doesn’t pack into it and inhibit shifting, and it is very easy to clean off any grease and mud that does accumulate. Since I originally set up the front derailleur, I have only had to make small barrel adjuster changes a few times to keep the front end shifting crisp. To me, this is a winning derailleur: it is very easy to set up, shifts are fast and clean, and it requires little to no maintenance.

nice bike you have there, plan to change my SLX to SRAM X9, for my giant reign, thank for the review mate.