
Air Spring
The system for adding air to the fork on the MRP Loop TR is funky. You fill up the negative chamber—via a valve at the bottom left leg of the fork—and then the pressure equalizes when you compress the fork. This ensures that the negative chamber is always sufficiently full, but in practice, it makes it harder to just set the right pressure the first time.
Let’s step back a second and discuss the negative air chamber. What is it? The negative air chamber is a secondary air spring that opposes the positive air chamber (aka the main air spring). This opposing force helps to reduce the effects of stiction (stickiness + friction) that keeps suspension from being supple, by pushing the fork to a tipping point where just a little more force (say, from a bump) is enough to overcome the stiction and push the fork into its travel.
Typically a fork has the biker adjust the positive air spring and then has a small pass through valve that equalizes the positive and negative air chambers. The MRP Loop TR is exactly the opposite of that; you first fill the negative chamber, and then it equalizes to the positive chamber.
Why does MRP do that? My best guess is that the bottom out / ramp / volume adjuster they have at the top of the air spring leg prevents them from also attaching an air valve to the chamber, so they moved the valve down to the bottom of the leg.
How does it work in practice? Instead of just filling the fork to the correct pressure, I would fill it and then bounce on it and then fill it and then bounce on it—3 or 4 times—until I got enough pressure into the positive air chamber. It’s kinda annoying. So instead, I’d make sure that I had a bit too much air in there, then worry about dialing it in on the trail. That was easy since there is a release button on the top that makes it very easy to bleed out air until the spring rate is perfect.
I ran 80psi in the fork, which is a pretty typical pressure for me on a 32mm stanchion fork, and very nearly what I run in a Fox 32 Float.
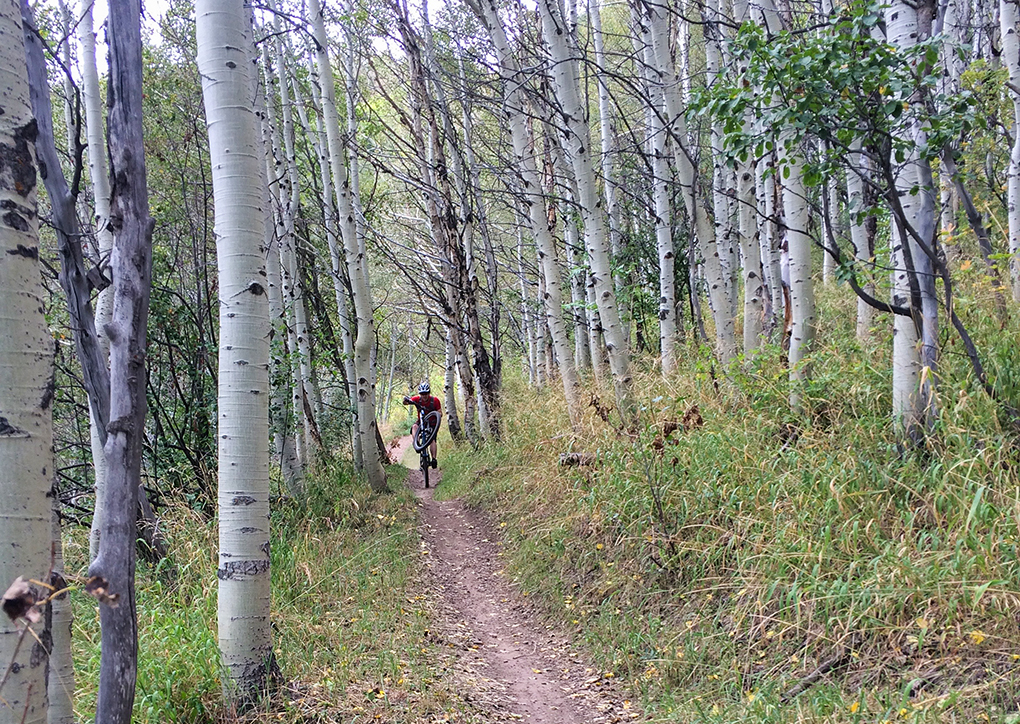
I really like the adjustable bottom out control. It was fascinating to see the effect it had on the fork, namely, it let me gain enough ramp to firm up the mid stroke. This allowed the Loop TR to use its travel judiciously, and prevented it from crushing bottom when the trail got really rough. It was hard to overwhelm this fork—and that’s rare for a 32mm stanchion trail fork.
But I found that I didn’t need to be able to adjust bottom out on the fly. I’d take a less-easily-adjustable system like Rock Shox’s bottomless tokens if it permitted me to fill the positive air chamber and not have to go through the fill-cycle-fill-cycle process that the Loop TR requires.
Overall, the air spring didn’t feel super plush in the parking lot, but it worked well on the trail. It didn’t blow me away with its supple, sensitive travel, but it was quite dependable and adequately plush.
Damping
The external adjustments on the MRP Loop TR are pretty simple: a rebound and an 8-position compression adjustment. The rebound adjustment had enough resolution (clicks) to allow me to dial it in as I liked, and adjust for varying terrain and conditions.
The compression adjustment is a pretty basic low speed affair that firms the fork up for pedaling and smooth trails. It worked well, and it got pretty firm on its firmest setting. So those looking for a lockout won’t be disappointed.
When riding through rough terrain, I never felt the fork spike significantly or dive excessively under braking. On the lips of jumps or landing drops I did find it initially pushed through its travel more than I wanted. With the ramp adjustment, I was able to increase the progression of the spring curve on the trailside. That change significantly increased bottom out resistance and even firmed up the midstroke. The result was that it did a very satisfactory job of keeping the fork higher in its travel.
Other forks offer a more complex range of adjustments than the MRP Loop TR, but I never found myself missing them. I dialed in the ramp to where I liked, then I left it there and used the compression damping adjustment as a lockout for paved road riding. The rebound adjustment let me adjust the fork to suit different conditions. When a fork’s baseline tune is good (as I found it to be on the Loop TR) there isn’t much need for more adjustment.
To my surprise, I ended up thinking about the Loop TR in comparison to the Rock Shox Pike on many rides because I had the option to pick between the two, depending on which of my bikes I took out. It ends up being a pretty simple tradeoff: the Pike is a bit lighter and a bit more plush, but the MRP Loop TR is decidedly less expensive and performs well on all other counts.
Bottom Line
I found that the Loop TR punched a bit above its class in rough terrain and on big features, but it did have some finickiness with filling the air spring, and it isn’t the lightest fork out there. And yet, for once, I find myself in agreement with a marketing department—the MRP Loop TR really does offer a nice balance of weight, stiffness, performance, and price. I’d recommend it to someone looking for a good deal on a fork that can hold up to charging better than most 32mm stanchion forks.
Tom,
I realize that this review is several years old at this point, but I just wanted to thank you for writing probably the most cogent, logical, and concise fork review I’ve every read. I’m looking at a used bike that has this fork on it, and despite being familiar with the brand, the Loop TR is new to me. Your observations and feedback on your experience have made my buying decision a bit easier, many thanks for that!
Happy Trails,
Jim
Jim,
Thanks for the positive feedback! You made my day. I’m very glad my review helped with your decision.
Tom
Very good review. Definitely have made me make my decision on purchasing this fork! Very well written and very clear.
Thanks, Slade