
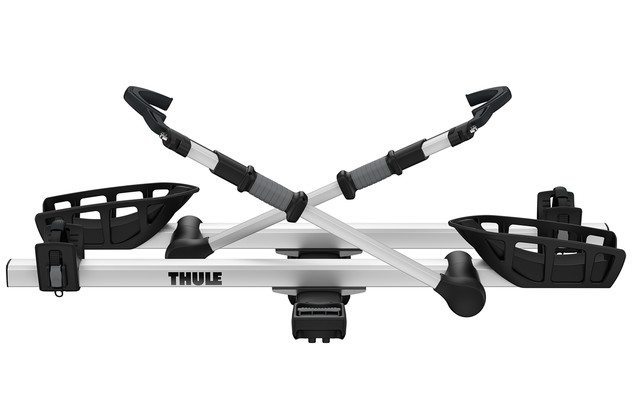
Thule T2 Pro Bike Rack
Hitch: 1 ¼” (tested) or 2”
Stated Features:
- Easy to install and remove the rack with the tool-free AutoAttach system
- Carrier easily folds when not in use and tilts away from vehicle for rear access due to the HitchSwitch lever
- Lock bikes to the rack and secure the rack to the receiver with the integrated cable lock and lock knob
- Eliminate bike interference by adjusting side to side to create generous spacing between bike mounts
- Secure bikes quickly without frame contact with the frame free ratcheting arm
- Ideal for carbon frames, mountain, downhill, and fat bikes as it fits 20 – 29” wheels and up to 5” tires without adapters
- Carries 2 bikes
- Carries up to 4 bikes with Thule T2 Pro Bike Add-on (sold separately, 2” receiver only)
MSRP: $549
Test Locations: Idaho, Montana, Washington, Wyoming, British Columbia
Test Duration: ~1500 miles of use
Intro
Thule’s original T2 is one of the most common tray-style hitch racks around, and for good reason: it’s simple, easy to use, and it stores your ride securely without actually touching the frame.
Jason Hutchins reviewed the original T2 a few years ago, and came away impressed. But he also noted a few features that he felt could be tweaked to improve the overall experience.
Thule is now offering the new T2 Pro, which takes the tried-and-true formula of the original T2 — now sold as the “T2 Cand updates it to make it easier to use and more versatile. The original T2 is still available as the T2 Classic, and I’ll touch on the price and feature comparison to the T2 Pro below.
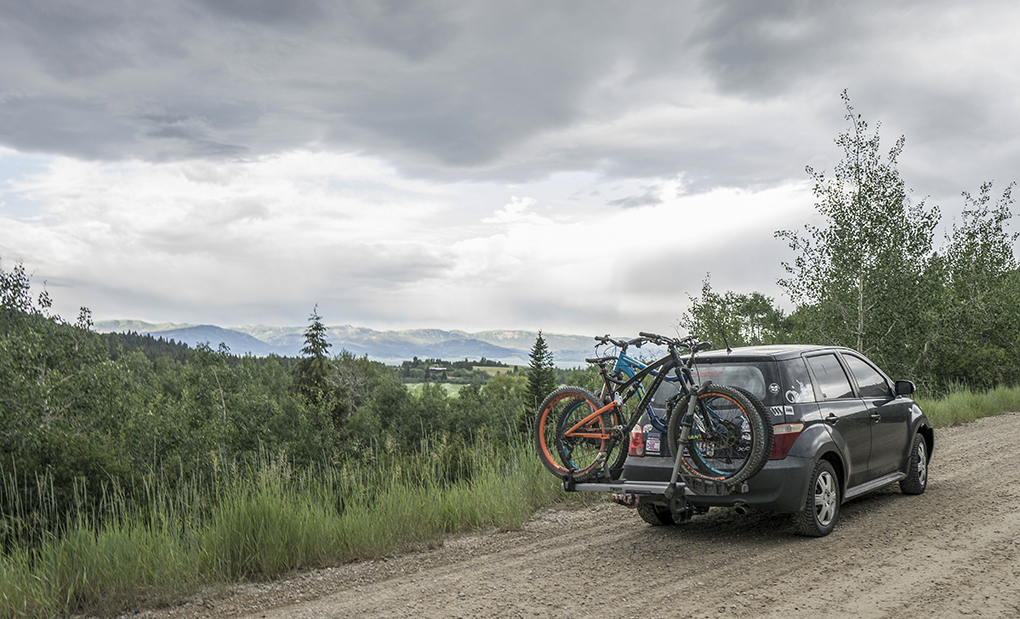
I’ve been using the T2 Pro with a 1 ¼” hitch mounted to my Scion XA this summer, including the long slog from Driggs, ID, to Whistler, BC, as well as many shorter rides and shuttles. And I’ve used the rack to carry road bikes, commuters, and mountain bikes.
I’ve also had ample opportunities to directly A/B the original T2 to the T2 Pro, and so far I’ve been impressed by the changes made to the T2 Pro.
Assembly
The T2 Pro comes mostly unassembled, and includes an assembly instruction sheet. I was able to fully assemble and install the T2 Pro in about 20 minutes, and didn’t run into any major speed bumps. Anyone with a basic knowledge of “righty-tighty, lefty-loosey” should be able to assemble the T2 Pro very easily with the included allen wrenches, and while I haven’t assembled and installed the original T2 myself, that process looks a little more complicated and involved.
The T2 Pro has a locking knob that tightens it into the hitch to keep it from wobbling. Thule recommends that you check this periodically to keep the rack from getting loose, but so far, mine has stayed tight and secure.
Loading
Like the original T2, it’s easiest to secure the front wheel in the tray with the ratchet arm, then slide the rear wheel tray underneath and secure the strap.
The T2 Pro includes wider front-tire trays than the original T2 to accommodate fat bike tires (up to 5”), but it still has narrower grooves in the center so that a skinny road-bike tire will stay put as well.
Unlike the original T2, the rachet straps on the T2 Pro are permanently attached, which makes them easier to open and close, especially when fumbling with muddy bikes. They also have a rachet buckle (similar to a snowboard binding that makes them easier to cinch down, but also probably ups your chances of stripping the plastic teeth than on the original T2. The straps are long enough to fit anything from a road bike to a fat bike wheel, and replacement strap and tray assemblies are available for about $25 if you do wear the straps out.
There are several different routing options for the rear strap, depending on the size of your rim and tire combo.
Unlike the original T2 which allows you to slide the bike trays on the main beam of the rack in order to situate the bikes so they don’t rub on each other, the trays on the T2 Pro are fixed. This makes it simpler to install, probably more durable, and so far, I haven’t had any problems with bikes rubbing on each other. But this could be a deal breaker depending on what bikes you’re planning on running on the rack. So far, I’ve used the T2 Pro with a wide variety of bikes, and haven’t had any issues with the rack touching or rubbing any part of the bike but the tire, but I’ll report back if I do.
Thule also claims that the T2 Pro has 35% more ground clearance than the original T2, something that those driving rough roads will appreciate. On my Scion, the bottom outer edge of the rack is about 8” higher than the center of the hitch.
Lock System
Like the original T2, the T2 Pro has an integrated lock system to keep your bikes where you want them. The rack locks onto the hitch, and each rachet arm has an integrated cable lock. All three locks use the same key, which makes things simple.
These cable locks are not, however, going to deter a serious bike thief, and I wouldn’t recommend that you leave your bike locked outside in the rack overnight. But the locks offer some peace-of-mind when you’re running into a grocery store or stopping for a post-ride-beer.
NEXT: Hinge, Durability, Etc