
Flares and Pin Scars

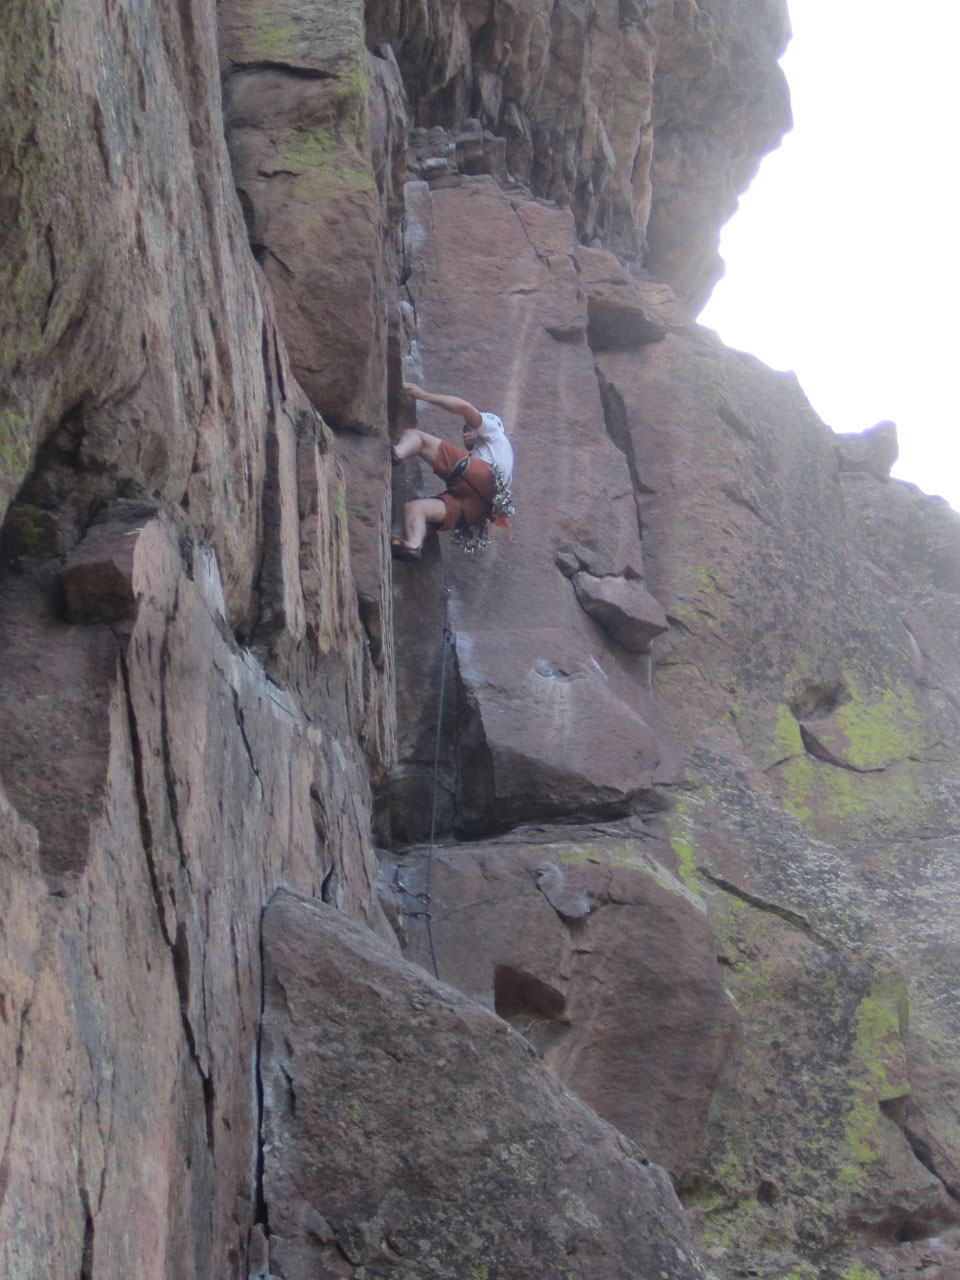
Many of the cradles of climbing in North America (Yosemite, Eldorado Canyon, etc.) bear scars that are left over from the days before free climbing and clean aid became the standard. These pin scars can be finicky and difficult to protect, with lobes unevenly cammed, among other problems. These situations place a premium on cams with a small head profile. The smaller the heads of the cams are, the more room you’ll have to play around with a delicate placement. Cams like the Black Diamond C3, the Totem Basic or Fixe Alien (both direct descendants of the proven CCH Alien), and the Metolius Mastercam are all strong in this regard. A smaller head, on the other hand, is one of a few factors that contribute to cam walking.
Cams with U-stems, such as TCUs, can also be problematic in pin scars as the stem can obstruct the placement or cause the cam to torque out of the pod. While they work wonderfully in more continuous crack systems, they can be problematic in pin scars or small flares. In extreme cases, where protection is mostly in pin scars, or the cracks flare dramatically (sometimes the case even on easier climbs in places like Looking Glass Rock in North Carolina, for example), it is worth considering picking up offset cams in a couple sizes. Offsets have lobes of different sizes on the same cam. This allows for the lobes to be cammed to the same degree in flaring placements. Some examples are the Offset Mastercam by Metolius or the Hybrid Alien by Fixe, among others.
Small Sizes
While the very smallest cam sizes are often rated only for aid climbing, tailoring your rack to the palces you climb is key, and there are some devices in the thin-fingers sizes that can come in very handy for free climbing in the right areas. Eldorado Canyon, in Colorado, is a perfect example.
Unlike most traditional climbing meccas, Eldorado offers a complex mix of face climbing and crack climbing. Eldorado is known for funky moves (across all grades) that might involve jamming with one hand, and crimping or side-pulling with the other. Gear can be equally funky, with sequences of face climbing often protected by very thin cracks if at all. While stoppers are often the answer in small placements, I find myself getting a lot of use out of my smaller size cams in Eldorado.
When thinking about smaller cams, it is important to keep in mind that some micro cams are only rated as aid pieces, and use of these pieces should be restricted to modes for which the gear has been rated by the manufacturer.
As many cam reviews make clear, quality (and preference) can vary across a single line of cams. While this is not always the case, it is not uncommon to like a certain cam in smaller (fingers and below) sizes, but not like that cam in the larger (thin hands and above) sizes and vice versa. This is to say, it can be helpful to keep your options open to different brands for different sizes. This is especially true at the smaller end of the spectrum.
Alpine Objectives
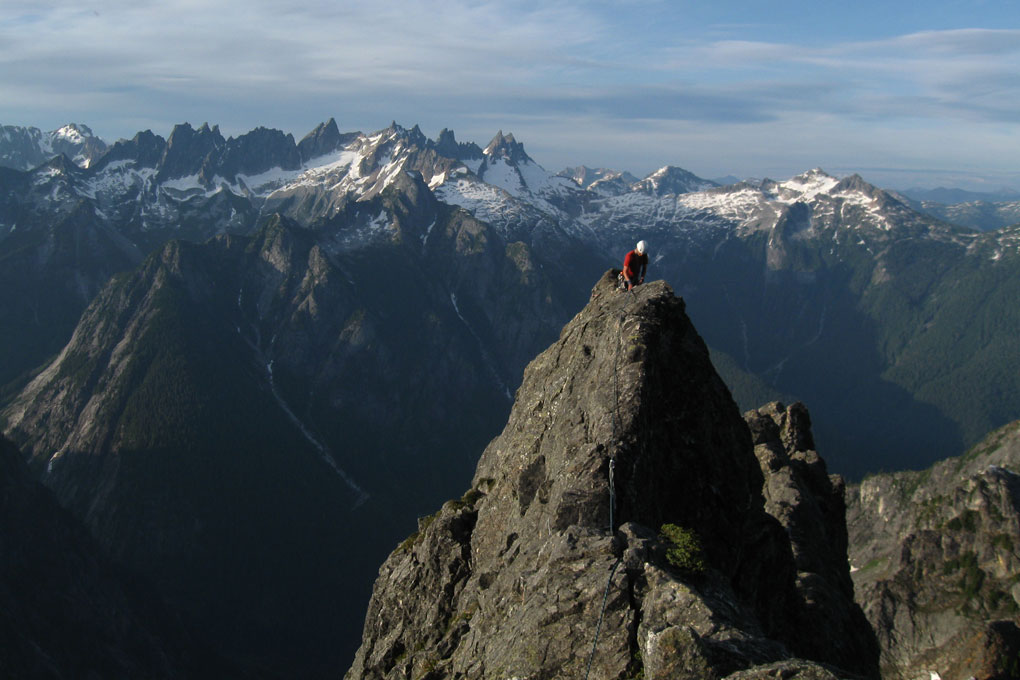
If you are expanding into trad climbing for alpine reasons, then you pay more attention to factors such as weight and bulk. For those who spend their time at the crag, cutting back on weight is often more effectively done by refining your gear placement and slowly cutting back on what you leave the ground with, rather than buying cams that weigh a couple grams less. In the alpine, however, pack weight becomes a major factor, and light might be right if you are just looking for a couple cams to make a light alpine rack.
DMM Dragons employ extendable slings that can take the place of an alpine draw on your rack, and Omega Pacific link cams offer protection in multiple sizes for alpine routes where a climber might only bring a couple cams rather than a full set.
Ideally, an alpine climber will work to become a Jedi at placing stoppers, so they can rely on lightweight passive gear as much as possible, bringing along only a couple of cams to round out the rack. If that describes your climbing, then a couple lighter, or more versatile, cams that won’t take up much room in your pack are what you’re looking for.
Last Thoughts
There are many other factors that contribute to the experience of using one cam or another, such as cam angle, range, single or double axle design, the presence or lack of a thumb loop, etc. but these factors tend to be more preference oriented (and less likely to be affected by where you climb) than some of the characteristics discussed above. If possible, it is ideal to try out (or at least play with in a local shop) as many different kinds of cam as possible to find what feels right.
Another important word on preference is that it is helpful to be open to the possibility of preferring different styles or brands in different sizes. A line of cams will contain many devices of different sizes, all built on the same style. That doesn’t mean you have to like them all. For purely subjective reasons, I prefer one kind of cam in the hands-and-above sizes, and other cams in the fingers-and-below sizes. It’s worth re-evaluating each time you look to add a new piece to the rack.
Check out our Climbing 101: Cam Glossary
While not related to cams, I have a Climbing 101 type question: How do you stop climbing shoes from stinking? Perhaps there is a whole article in this?
Keep up the good work, great site.
Nick
Nick,
Thanks for the feedback and encouragement amigo! Regarding shoe smell, there are a lot of opinions on this and what works best, but some of it comes down to what your shoes are made out of. Leather is going to be different than shoes lined with, say, cotton, both of which are better, in my experience, than synthetics. So, some shoes work against you in regard to smell.
My shoes aren’t terrible, so I don’t go to greater lengths than trying to be good about letting them air-dry (keeping them out in my car rather than stuffed in a pack for days after climbing), and storing them in a non-airtight place. However, I’ve heard of a million home remedies for this (though admittedly often in the context of regular street shoes, though I’m sure they’d work just as well/poorly for climbing shoes) including, but not limited to, freezing your shoes (to kill the bacteria that cause odor), washing your feet before climbing when possible, gold bond (or any other garden variety foot-odor product marketed for regular shoes), wearing thin socks, etc.
There’s definitely more discussion about this on both mountainproject.com and supertopo.com (just search the forums) though I suspect you might have to make a list of ideas and go through them systematically until you find something that works. Either way, be sure to let us know what does and doesn’t work when you start taking a crack at it!
Good luck man,
Dave
Thanks Dave, I’ll report back – although my shoes are starting to fall apart so I might start with some fresh ones and take preventative measures.
Cheers
Nick